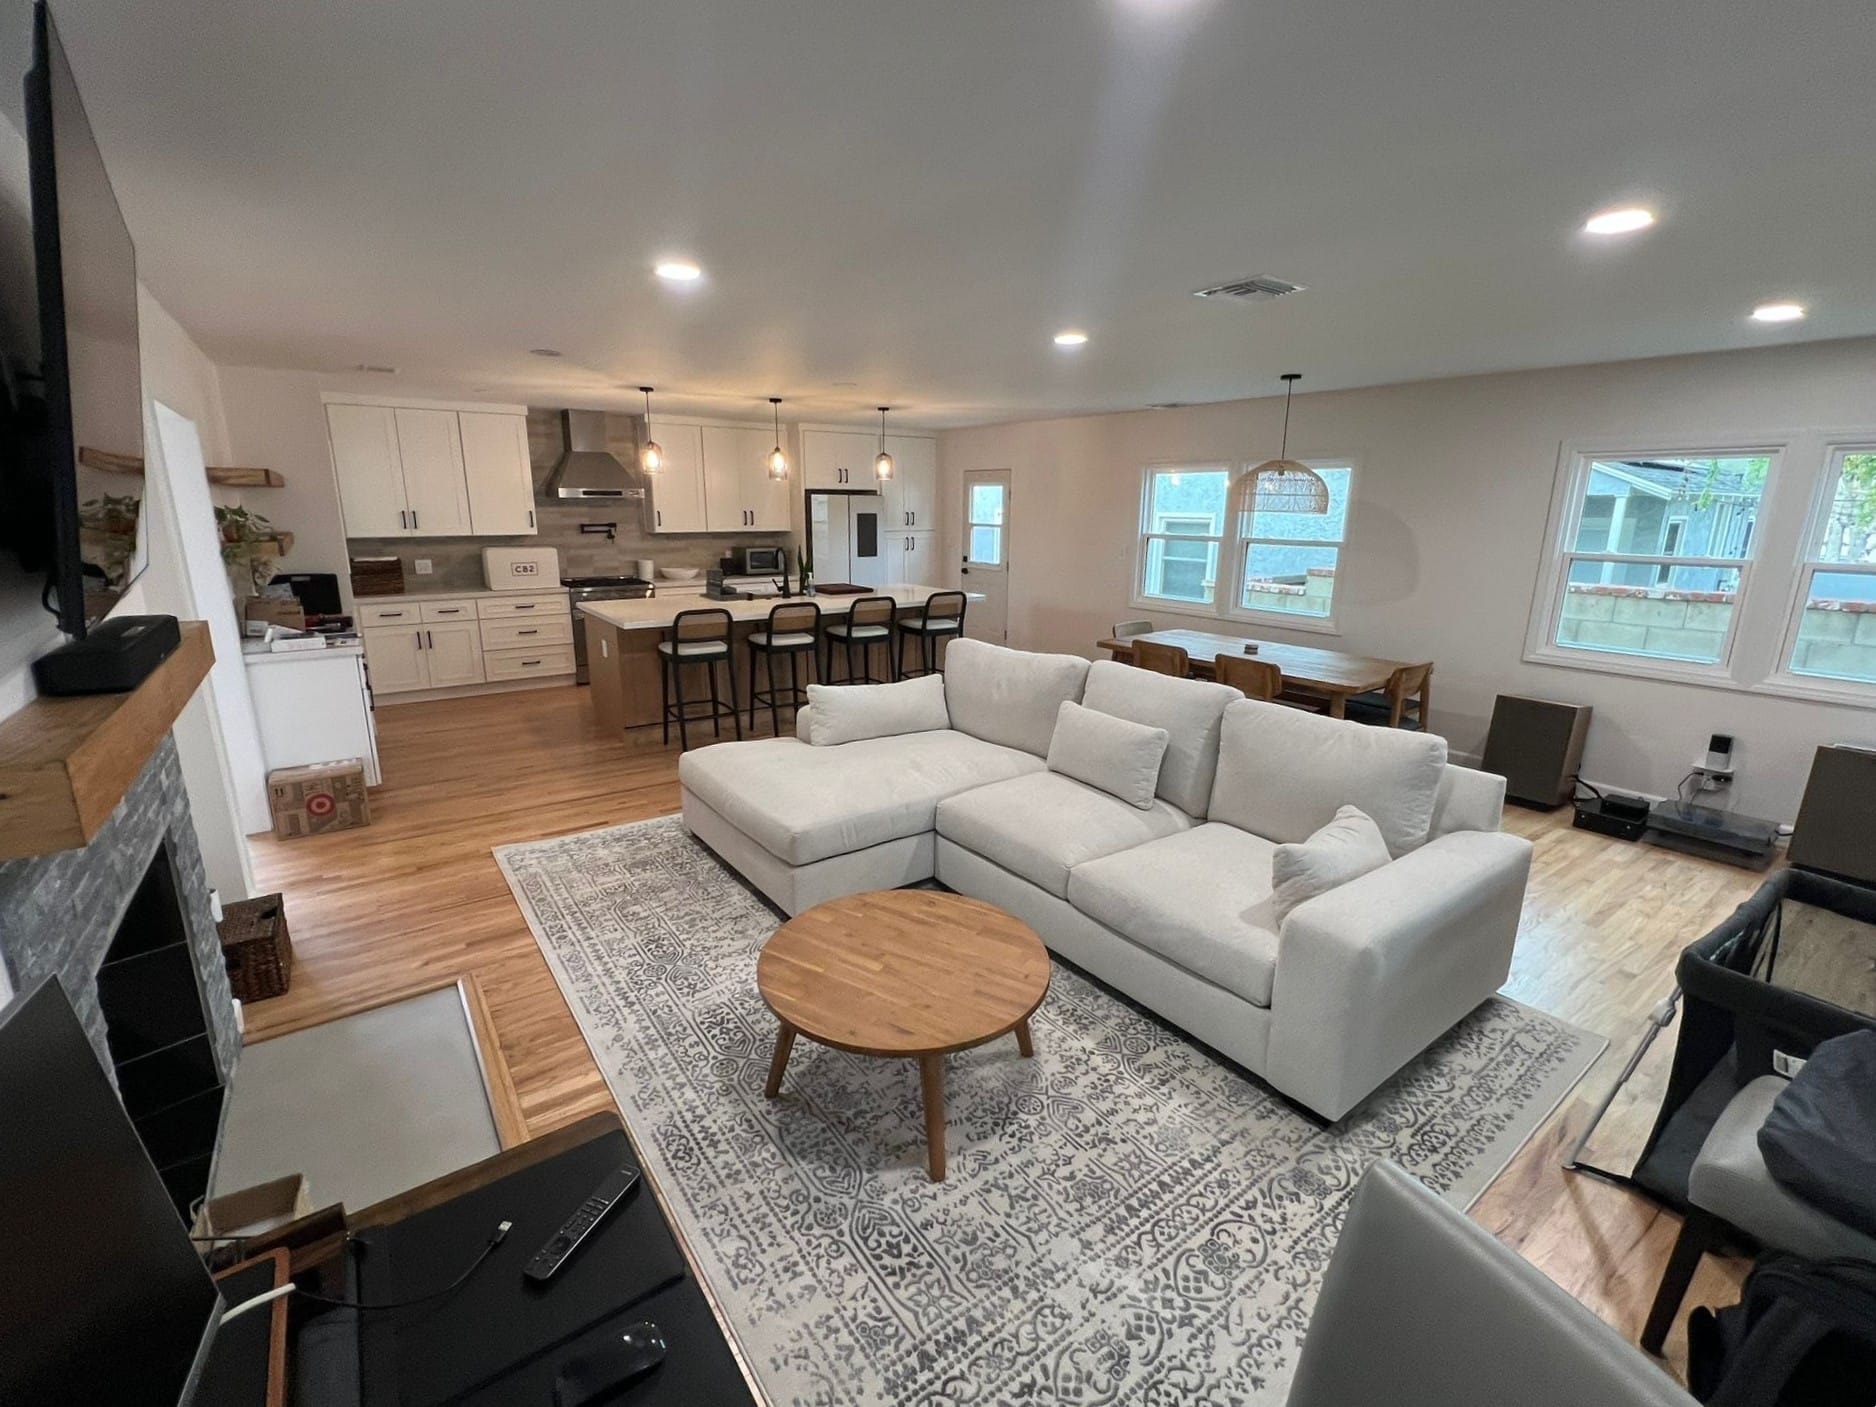
Tackling a complete home remodel is incredibly exciting, but it can also feel completely overwhelming. Whether you are updating an outdated floor plan or completely transforming your newly purchased fixer-upper, success comes down to one thing: a rock-solid plan.
Without proper preparation, a dream project can quickly become stressful and expensive. Here is your step-by-step guide to planning a whole-home renovation the smart way.
Establishing Your Remodel Vision and Budget
Every successful project starts with a clear roadmap. Before you tear down a single wall, you need to determine exactly what you want to change and how much you are realistically willing to spend to make it happen.
Defining Your Primary Goals and Scope of Work
It is easy to get carried away when remodeling. To prevent your project from expanding out of control, known as “scope creep”, you must divide your ideas into two lists, your absolute “must-haves” and your “nice-to-haves.” Stick strictly to your must-haves first. If there is money left over, you can tackle the nice-to-haves.
Setting a Realistic Financial Budget and Contingency Fund
A good budget accounts for both the obvious costs (materials and labor) and the hidden ones. Once you calculate your total expected costs, it is crucial to set aside a 15% to 20% contingency fund.
When you open up walls, you might find outdated wiring or hidden water damage. This emergency fund keeps the project moving without destroying your finances.
Deciding Between Living at Home or Moving Out
Living in a construction zone saves money on rent, but it is incredibly stressful. You will be dealing with daily dust, loud noises, and temporary kitchen setups.
Carefully weigh the financial savings against your mental peace. If you are doing a massive “down-to-the-studs” remodel, renting a temporary space is usually the best decision for your family’s sanity.
Assembling Your Dream Remodeling Team
A beautiful whole-home remodel is only as good as the professionals executing the work. Building the right team early will save you time, money, and countless headaches.
Hiring a General Contractor vs DIY Management
Trying to act as your own project manager to save money rarely works out. A professional General Contractor (GC) handles the massive stress of coordinating daily schedules, pulling permits, and managing multiple subcontractors. They keep the project on track so you do not have to put your normal life on hold.
Working with Architects and Interior Designers
If you are moving load-bearing walls or adding square footage, you will need a licensed architect to ensure the structure is safe. To ensure the home looks beautiful when finished, an interior designer is invaluable. They take your scattered Pinterest ideas and weave them into one cohesive, highly functional reality.
Vetting Subcontractors and Checking References
Never hire anyone based on a simple handshake. Always ask for recent references and call their past clients. More importantly, verify that your GC and their subcontractors carry active licenses, bond coverage, and proper insurance. This protects you legally and financially if an accident happens on your property.
The Design, Planning, and Permitting Phase
This is the most critical phase of your entire project. The logistical steps you take now dictate how smoothly the physical construction will go. Do not rush this process.
Creating Functional Floor Plans and 3D Renderings
Finalize every single detail of your blueprints and layout designs before construction begins. Moving a wall or relocating a sink on paper is free.
Changing your mind after the framing and plumbing are already installed will result in massive delays and incredibly expensive “change orders.”
Selecting High-Quality Materials and Finishes
Due to ongoing supply chain issues, many materials take months to arrive. Order your long-lead items, like custom cabinetry, specialized tile, windows, and high-end appliances, well in advance.
Having your materials sitting safely in a garage prevents your contractor from having to pause work while waiting for deliveries.
Securing Necessary City Building Permits
Never let a contractor convince you to skip the permitting process. Pulling the correct city building permits is absolutely non-negotiable.
It ensures the work meets local safety codes and is legally compliant. If you remodel without permits, your home may not pass inspection when you eventually try to sell it, severely hurting your property value.
Standard Whole-Home Remodel Timeline Breakdown
Knowing how long a remodel takes helps you plan your life and manage your expectations. While every house is different, here is a general timeline for a standard whole-home renovation.
| Remodeling Phase | Estimated Duration | What Happens During This Phase |
|---|---|---|
| Planning & Permitting | 1 – 3 Months | Finalizing designs, ordering materials, and city approvals. |
| Demolition & Framing | 2 – 4 Weeks | Tearing down walls, removing debris, and structural framing. |
| Rough Utilities (MEP) | 2 – 4 Weeks | Installing new plumbing, electrical wiring, and HVAC ducts. |
| Insulation & Drywall | 2 – 3 Weeks | Sealing the home, hanging drywall, taping, and texturing. |
| Finishes & Final Touches | 4 – 8 Weeks | Cabinetry, flooring, painting, lighting, and final cleanup. |
The Construction Sequence: From Demolition to Finishes
Once the permits are pulled, the real work begins. Understanding the exact order of construction helps you navigate the messy, noisy reality of transforming your house.
Structural Work, Framing, and Rough Utilities
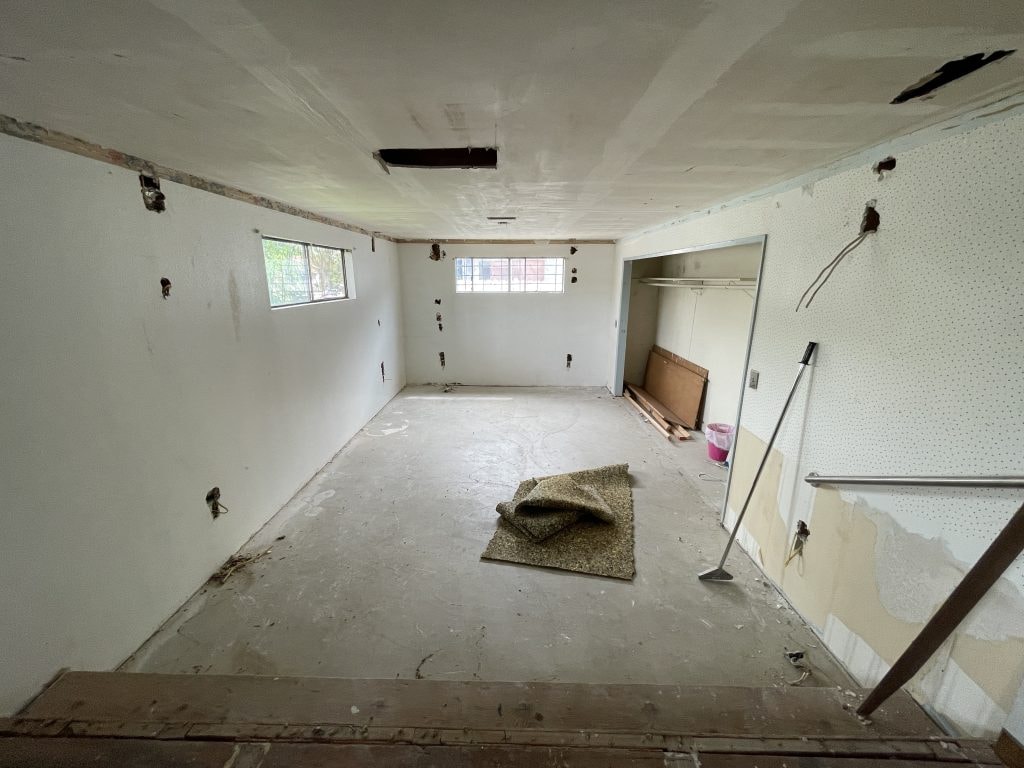
First, the crew will demolish the old spaces, taking the house right down to the bare studs. Next, they build the new wooden framing to shape your updated layout.
Once the new walls are up, plumbers and electricians step in. They run the “rough utilities,” pulling new wires, installing HVAC ducts, and laying water pipes safely behind the walls.
Insulation, Drywall Installation, and Painting
After the rough utilities pass city inspections, the walls are filled with thick insulation to keep your home comfortable. Next comes the drywall.
Once the drywall is taped and sanded smooth, the painters add the first coats of primer and color. This is the exciting turning point where a messy construction zone finally starts looking like a real house again.
Installing Flooring, Cabinets, and Final Fixtures
Now it is time for the beautiful cosmetic finishes. Hard surface flooring, like hardwood or tile, is laid down first. Then, the carpenters install your kitchen and bathroom cabinets.
Finally, plumbers and electricians return to install the toilets, sinks, appliances, and light fixtures.
Top Mistakes to Avoid During a Home Renovation
Remodeling is complex, but many common headaches are entirely preventable. Keep your project running smoothly by avoiding these major missteps:
- Changing Your Mind Mid-Project: Changing designs after construction starts leads to massive delays and expensive “change orders.”
- Underestimating the Budget: Failing to set aside a 20% emergency fund leaves you vulnerable to hidden issues like rot, mold, or outdated wiring.
- Buying Materials Too Late: Waiting to order tile, windows, or appliances forces your contractor to halt work while waiting for slow deliveries.
- Choosing the Cheapest Bid: Hiring a contractor purely based on the lowest price often results in corner-cutting, hidden fees, and poor craftsmanship.
- Ignoring the Home’s Original Architecture: Forcing an ultra-modern interior into a historic home without creating a thoughtful transition can ruin the property’s natural charm.
Conclusion
Planning a complete home remodel requires patience, clear communication, and a solid financial strategy. However, the reward is a beautiful, highly functional space custom-tailored to your family’s exact needs.
Take the very first step today by organizing your ideas, establishing your budget, and reaching out to a professional design-build team. They will guide you through the confusing logistics and turn your dream home into a reality.